Tuesday, May 27, 2014

Photos, Photos, Photos!

Who, like me, takes a ton of photos on their phone? Well, I really want to scrap those photos that I take! So, with this post, I am hoping to share a few tips and tricks I have learned that help me get those pics edited, printed, and put in my albums...all right from my phone!


Step 1:
Take pics with your phone!  The best camera is the one near you. So use it!


I keep a shortcut on my iPhone so I can get the camera opened quickly. I slide my screen up from the bottom and  have my camera accessible instantly (see it on the bottom right?) When I get back from a trip, or hit 500 photos on my camera roll, I force myself to upload the photos to a hard drive and then delete as many as possible off my phone. 

Confession time: I always keep about 100 pics on my phone of my handsome hubby, cute kids, and adorable granddaughters, for, you know, BRAGGING purposes! But I delete the rest once they are backed up or my phone fills up quickly. :)

These are pics I took on a recent trip to Paris and Rome. 


Step 2:
Edit pics as you take them. I usually do this after a day of teaching or sightseeing when I'm curled up in bed and letting my achy feet rest!  It's fun to put your faves together in collages for Instagram or Facebook (like those shown above), or add fun filters and text on top of them (like the one shown below.) Save those edited pics to your camera roll so you can print them out later. So...how do you edit pics?


Photo & Editing Apps:
This article has an amazing run-down on their favorite photo apps for taking photos and editing. They include popular apps like Snapseed, procamera7, and pic, tap, go.  Of course if you ask 100 people what the best apps are you are going to get 100 different answers. (I just found another app that I HAVE to get-TimerCam! It's a timer for better selfies or group shots when you ALL want to be in the pic! And it's FREE!)


Now here are the ones I use! Haha. I love editing single pics with Rhonna Design or Design Studio. These give me a choice of adding text, frames, filters, etc. Rhonna is a fellow scrapper who does shabby-chic designs like no one else!

It allows the lazy side of me to "remix" other brilliant designs and apply them to my photos if I do not want to make my own! (Reminder-Save all edited photos to your camera roll so you can print them later!) I also LOVE Instagram's filters for photos! I haven't found a filter set I like better than theirs so help me out if there is one you like!


To keep photo editing easy I put all my photography apps in one file on my phone. Once I have edited my pics I use either PicStitch or PhotoCollage to put pics together so I can print them out and add them to my Insta-Scrap album. I like both, but they are different so use the one YOU like! Both are free. 

Tip: I'll show how to put a collage together in my class...so come watch it! 


When I need to print photos I pull out the page I am scrapping and look at the page configuration to see what size photos it requires: 4x4, 3x3, 2x2, 3x4, etc. I pick the pics for that page and use PicStitch to put them together in the correct sizes so I waste less photo paper. I find this the most logical way to print what I want and need!

Printing Tips:

Now that I have my pics edited and put together in nice formats I need to print them out.  I open my Canon Selphy app on my phone and send the edited pics straight to my Selphy CP900 printer using wifi. It is so SIMPLE! It takes about 40 seconds to print a 4x6 out. I only print what I want, when I want. The printer is about $80 and the paper/ink packs can be found for about $12.99 for 36 shots.  I think it's a great price for the comfort of printing at home.

Tip: you can also connect your camera directly to a Selphy and print from it...no need for a phone!

Don't want to print your pics at home? You can also upload your phone pics to Snapfish (my fave),  Walgreens, Adorama, Persnickety Prints (my other fave), Wal-Mart, and other photo-printing sites! They now have options for square pics, etc. See how everyone is adopting to the social media trends?

Other Tips:
What about scrapping pics not on your phone? I have found two easy ways to do this!


1. I email myself lower res shots (500 kb) of my fave photos from my Mac, or hard drives, so I can save them to my iphone and print out when I want. It is also a FAB back-up method for my pics! Just save those photo emails into their own folder so you don't delete them when you are cleaning out your email.


2. You can also use your smart phone to take "scans" of old, vintage pics! I didn't have a scanner and needed copies of a photo taken with *gasp* film. I took a shot of it with my phone and LOVED the results. The phone is so fast and easy that you can get copies of all of those old pics in just a short time! Upload them to your computer or hard drive and clean them off your phone. (And throw that scanner away!)


Saturday, May 3, 2014

Happy NSD!!

NSDbloghop
Welcome to the NSD Prima Blog Hop! Scrapbooking is a hobby that caught my eye shortly after I got married in the 80s. (YEAH! That long ago!) I scrapped my wedding photos, cutting many of them out with decorative scissors. OUCH!) Then life swept over me with it's craziness of having six babies in a row and I had to set the hobby aside for a bit. I picked it up again a few years before I had my last baby and couldn't believe how much the product selection had grown. I was a gonner! (Is that even a word? Well, you know what I mean!) I have been immersed in it every since. Isn't it the best hobby ever?

And....I am so thrilled you made it to my blog! You most likely came from Keren Tamir's blog and will be going down the list to Patricia Fernandez's next! I am so very blessed to be working with everyone on Prima's blog hop list today. Prima has a fun-packed day planned with the wonderful Ambassadors, the talented Design Team, and their amazing Educators! I hope the projects inspire you to dig out your crafty supplies and have fun along with me.

I have a sweet, feminine project to show off today, along with a cute prize to give-away. So make sure you scroll ALL the way to the bottom to catch it all! The complete blog hop list is also included for you. Prima will also be giving prizes away on ALL of their social media outlets, along with a stunning main prize hosted on the Prima blog, so make sure you hop around and then comment on Prima's blog!

Prima is offering free classes today as well! Want to learn new techniques? Chat with other scrappers? Join in on the marathon of "Live With Prima" classes filled with gorgeous projects kicking off at 7 am PT! The first class will be taught by ME showing off a few techniques for art journaling! Click here to watch!

Now on to my project for NSD! Each of us created a 6x6 page with an inspirational quote. With Mother's Day coming up I wanted to create something to let moms know how wonderful, important, and unique they are to their children!


I lost my own mom three years ago so Mother's Day is bittersweet now. It's hard to celebrate the day knowing your own mom isn't here, but God always knows my needs. He gave me the most amazing mother-in-law! She has always been there for me. She doesn't pry, or push, or try to have her own way. And she is adventurous! My hubby really respects her, and I agree 100% with him. She's the kindest, most giving person I have ever met. I'm so glad she's a part of my life, and my children's lives. So I made her this piece, as the quote inspires me to be more like her:

"To the world you are a mother, but to your family you are the world!"

.
 The project was simple to put together! I started with a 6x6 paper from the Meadow Lark Collection, added a bit of cheesecloth to it, then added a resin butterfly in the corner.


I printed out my saying (multiple times as I kept printing it slightly TOO large!) Glued it to the back of one of our new resins. And then started decorating the page with flowers and leaves.

 I think it's the perfect way to show her how much we all love her. And her favorite color is purple! (I sure hope some day my children will feel the same way about me!)

And here is my give-away! All you have to do is leave a comment right here and I will pick a winner on May 12th to receive these gorgeous products! Open to all countries! (I would love it if you found me on Facebook, Pinterest, and Instagram as well!)


Now here is the Blog Hop Line-Up! Hop along, be inspired,  and find some give-aways!

Prima Marketing
Olga Vasilieva
Adrienne Ford
Magda Bolinska
Kasia Krzyminska
Kasia Tomaszewska
Felicity Wilson
Delaina Burns
Louise Nelson
Brit Sviggum
Jennifer Snyder

Solange Marques
Kelly Foster
Keren Tamir
Sharon Laakkonen-You are HERE!
Patricia Fernandez
Elena Olinevich
Alberto Juarez
Frank Garcia
Maiko Miwa
Trina McClune
Janine Koczwara
Misty Olsen
Sarinda Jones
Ramona Downing
Candace Hagler
Erin Reed
Sam Ho


Wednesday, April 23, 2014

Versailles, Paris, Giverny, and Rome- Part 1!


It was a day we had been looking forward to for a VERY long time. Britt, Bill, and I were all packed, checked in at the gate, and just waiting to hop on our first flight of the trip!


(This is the cutest packing list ever! I had to snap a shot of it. Just because! Compliments of kate spade.)


Bill and I have been blessed to have visited Europe many times (always for work, but we will take it), but Britt had never been there. Her excitement was seriously contagious! I tried really hard to take pics of every single step of the journey. (She probably got REALLY sick of me saying, "SMILE, BRITTY!")


FINALLY it was time to land in Paris! I just kept watching Britt's reactions. I LOVED watching her face as she saw things for the first time. :)


And, yes, I made her pose by the welcome sign in the airport! We were just going to be crazy tourists this trip and that's OKAY! 


All of our luggage arrived (hallelujah!) so we grabbed them, hopped in a taxi, checked in to our hotel, washed up & changed, and took off on the train to Versailles! I kept telling Britt how important it was to try and stay awake the first day to beat the jet lag. (It was mainly a pep talk to myself. UGH. That first day is the worst! Just think of flying all night with no sleep, then trying to stay awake another 12-14 hours. At my age it's a major feat; even if I am in Paris!)


The Palace of Versailles was pure splendor. Not only was it HUGE, every single inch was decorated, from the floors to the ceilings. We could have walked for days and not seen it all. 


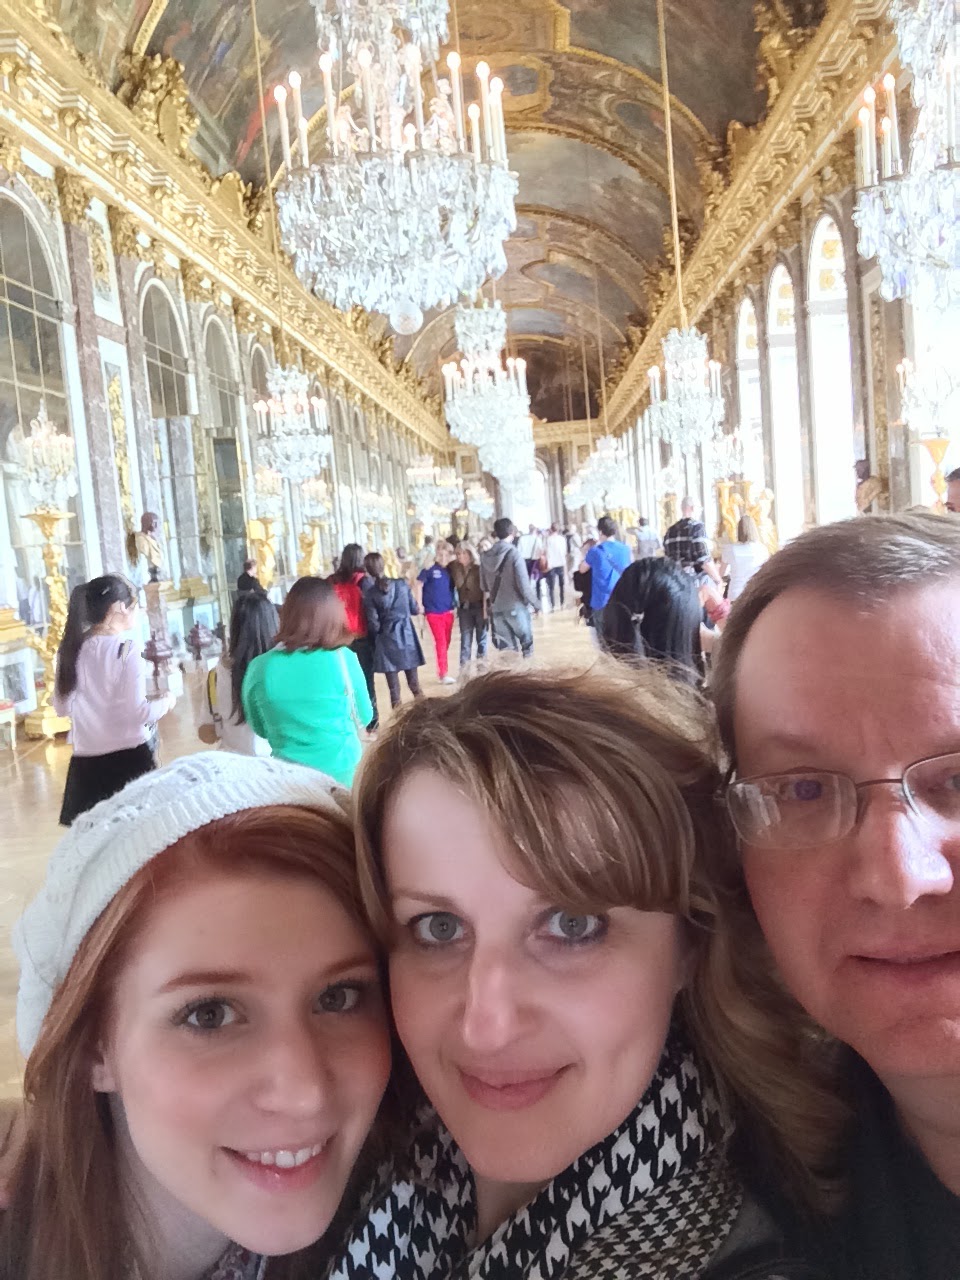
Selfie shot in the Hall of Mirrors! Wowza. Total opulence.


See what I mean? Looks just like our house back home. heh!


Even the grounds were vast, impressive, and over-indulgent!


Britt told me I HAD to get a photo of the Queen's bed...cause my girls are all huge readers and were just shocked and disgusted that custom at the time allowed people to watch the French royalty give birth.


So, according to the tour, people could be as close to the bed as the railing allowed. UGH! YEAH, that gold railing right there! (I understand why they did it. I just happen to feel sorry for those women. Although I DID have an audience when Britt was born. She was early and the doc brought in everyone he could think of, just in case. They joked and laughed about stuff. I wanted to slap 'em. And a janitor just walked in and started mopping the floor as I was delivering Bethany. Seriously? The nurse ushered him out pretty quickly, but, yeah. He must have been totally oblivious. So can I get a bit of those French designers to come decorate my home now?)


Back to Versailles....we loved visiting it! The town was beautiful too! We walked back to the train station and then started the miserable job of STAYING awake for the train ride back into Paris. Just for the record...Britt and Bill both fell asleep. :)

Stay tuned for Part 2...Paris sight-seeing!


Sunday, April 20, 2014

Featured on Simon Says Stamp!

I always LOVE getting asked by Stephanie at Simon Says Stamp to make a special project for them! This time I chose a very sparkly, summery Magical Mermaid Layout! You can see the full project, plus step-outs, on their blog right here! But, here are a few peeks just for you!


Come create your own magical vacation layout with sand & water effects, a sparkling custom-colored mermaid, and shimmery golden seashells! I combined a few fabulous Prima products on my summer-filled page, perfectly framing one of my favorite summer vacation photos of my granddaughter, Amariah!


Prima's new paper collection, Sea Shore, makes me feel like I'm on a tropical beach! I wanted to add that same beachy texture to the paper. You'll have to check out SSS for the how-to!


BONUS: I will also be teaching this page, from start to finish, on Live With Prima, April 29th, at 11:00 PT right here! Thanks for letting me hang out with you today! :) Sharon
Prima Products:
813635 Sea Shore Paper-Under The Sea
574987 Sea Shore Flowers
573140 Sea Shore Cling Stamp
573270 Sea Shore Tag Me
573201 Sea Shore SIIC
910655 Julie Nutting Wood Doll Set-Ashley
573300 Resins-In-A-Box
573454 Lace Trim
572952 Wood ATC
573850, 573867, 573829, 573805, 573843 Color Bloom Sprays-Lime Wedge, Summer Sky, Worn Leather, Gold Foil, Antique Gold
891954 Gold Metallic Chalk Edger

Other: Gesso, Gold Sequins, Inka Gold, Glass Bead Gel, Sponge, Foam Squares

Sunday, March 30, 2014

Packing. Packing. Packing.

This isn't my first time to teach. And it isn't my first time to teach in Paris. BUT, I swear I have more stuff to bring this time than ever before. And I've gone through my suitcase twice already. (I am now invading Bill's suitcase with artsy stuff. HAHA. He doesn't need that many clothes, right?) So, you lucky duck students are going to have a blast with everything I bring over!!


I am REALLY looking forward to teaching this week-end! It's one of my favorite things to do in the whole world. I love sharing my love for the hobby. I love meeting people and seeing their amazing creativity. I love experiencing new cultures. And I love French food! Version Scrap is a wonderful event to experience it all! (Isn't that Paris print gorgeous? You can find it on Etsy! I just might have to buy myself one!)

So here is a run-down for those who signed up for my classes and what to bring!

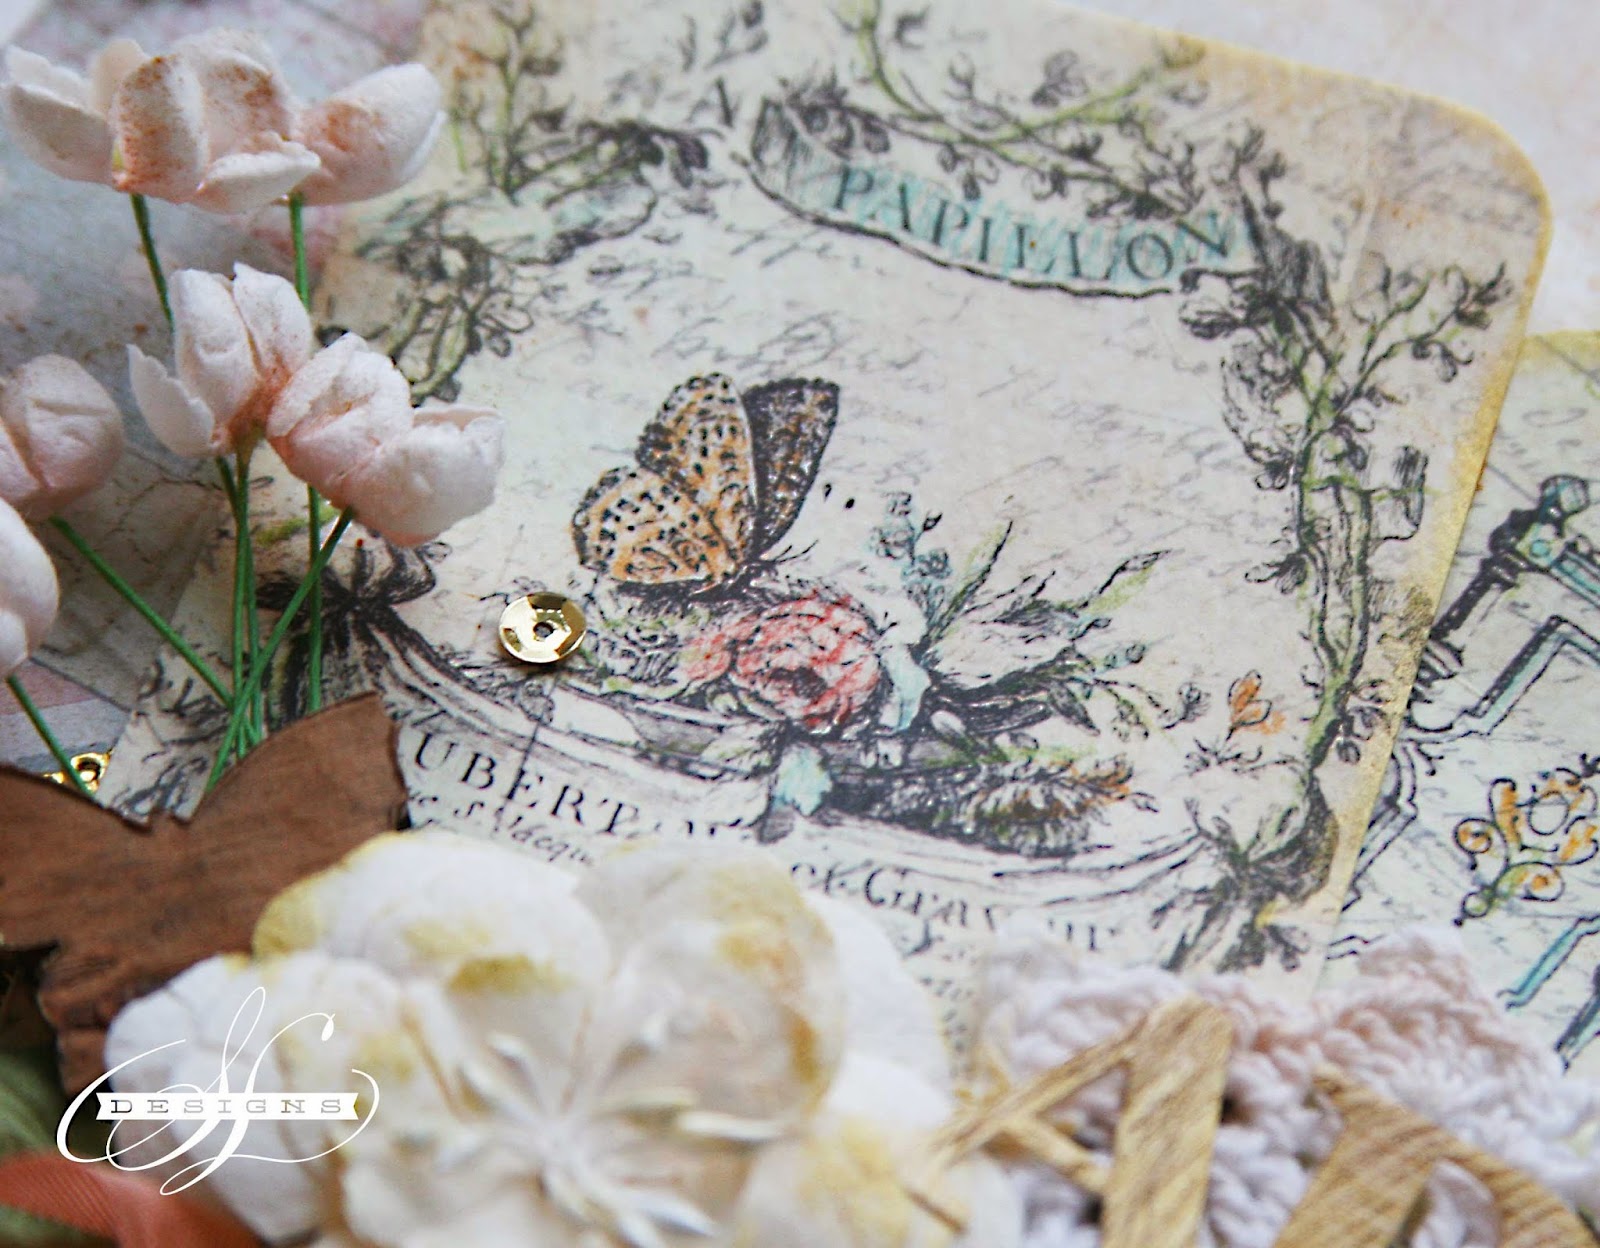
Custom Art Journal:
Photos are optional. You can add them easily later. If you want to include some in your art journal.  (About 6-8 2x3 and 4x6 photos in both orientations will work for the pages we will go over. There are lots of additional pages to finish at home.)

Supplies to bring:
Heat Gun (if possible)
Paper Trimmer
Fancy-Edged Scissors or Edge Punch
Adhesive for sequins, paper, and flowers (I use fabric liquid adhesive- Helmar or Fabri-Tac)
Crop-a-dile or small hole punch
Small paint brush for details
Gold Ink
Wet Wipes
Paper Towel or Towel
Class sponsors include Faber Castell, PanPastel, Prima


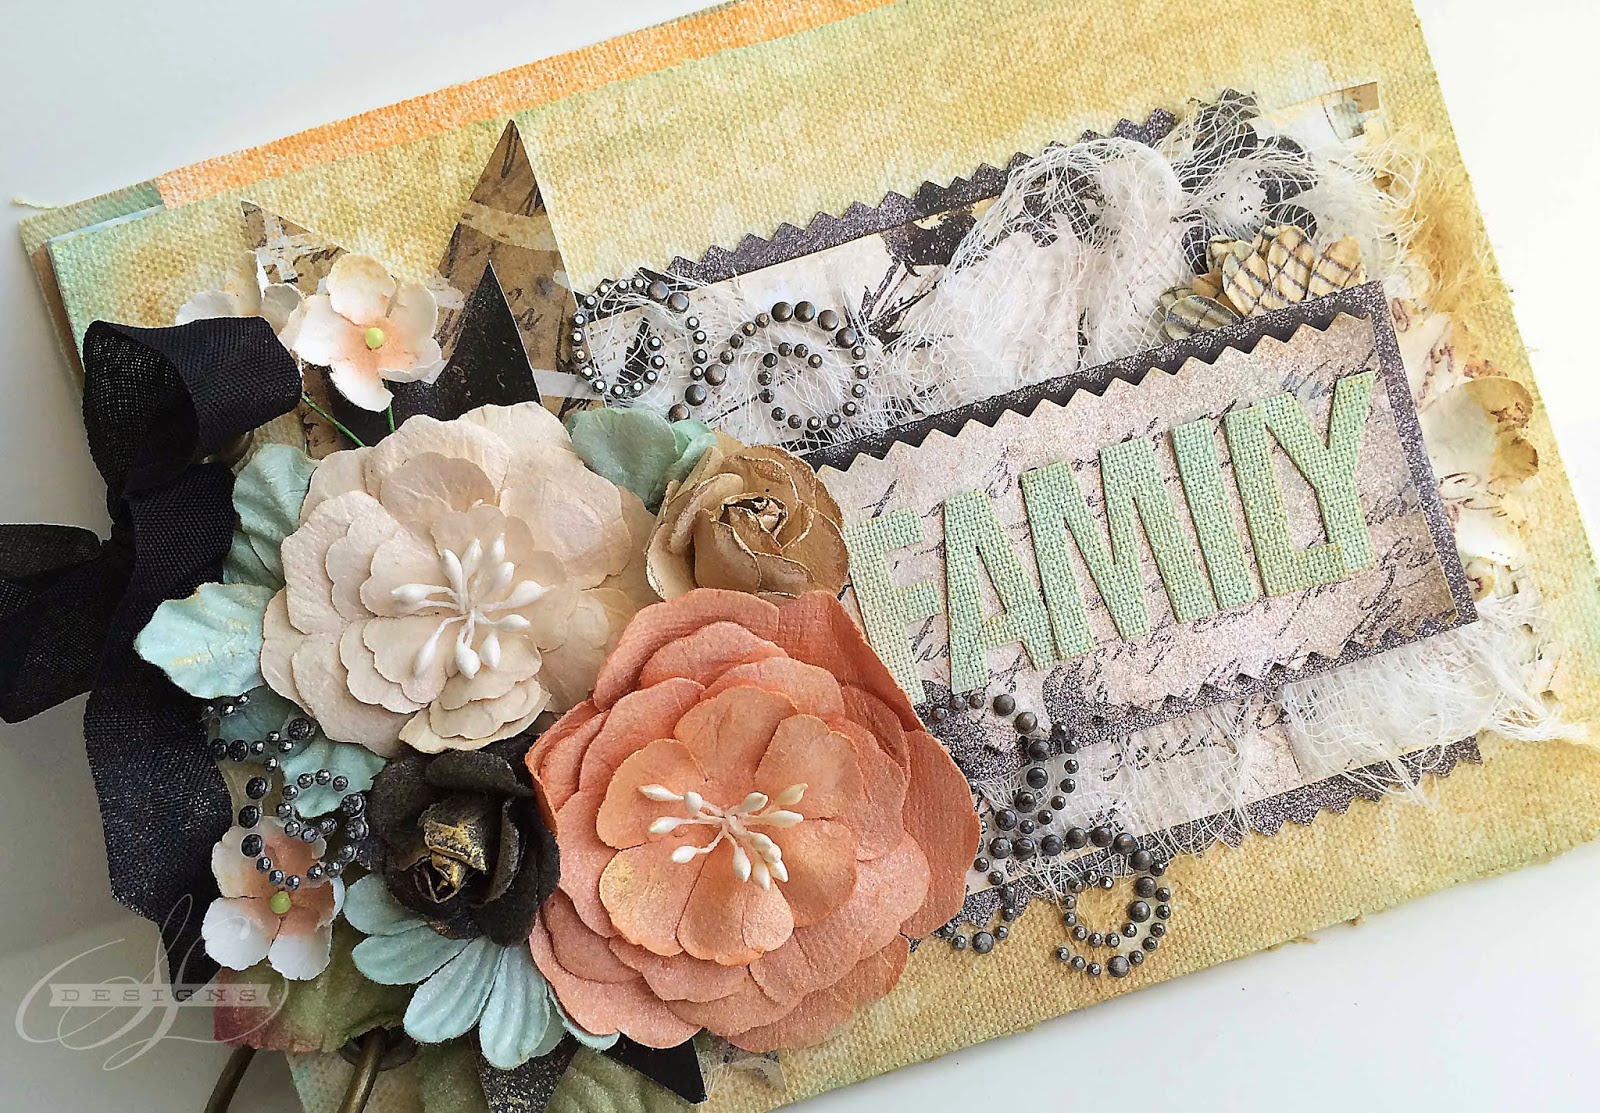
Family Mixed-Media Journal
You may bring 3x4 and 4x6 landscape photos, or add them at home. This book holds a lot of photos, but we will be concentrating on the page backgrounds.

Supplies Needed:
Heat Gun (if possible!)
Apron
Paper Trimmer or Scissors/ruler
Adhesive for fabric, flowers, paper, ribbon
Decorative scissors or paper edge punch
1 inch foam paintbrush
Water spray bottle
Wet wipes/paper towel
Black or Brown Permanent Ink (Ranger Archival or Staz On)
Class Sponsors: PanPastels, Faber Castell, Stampendous
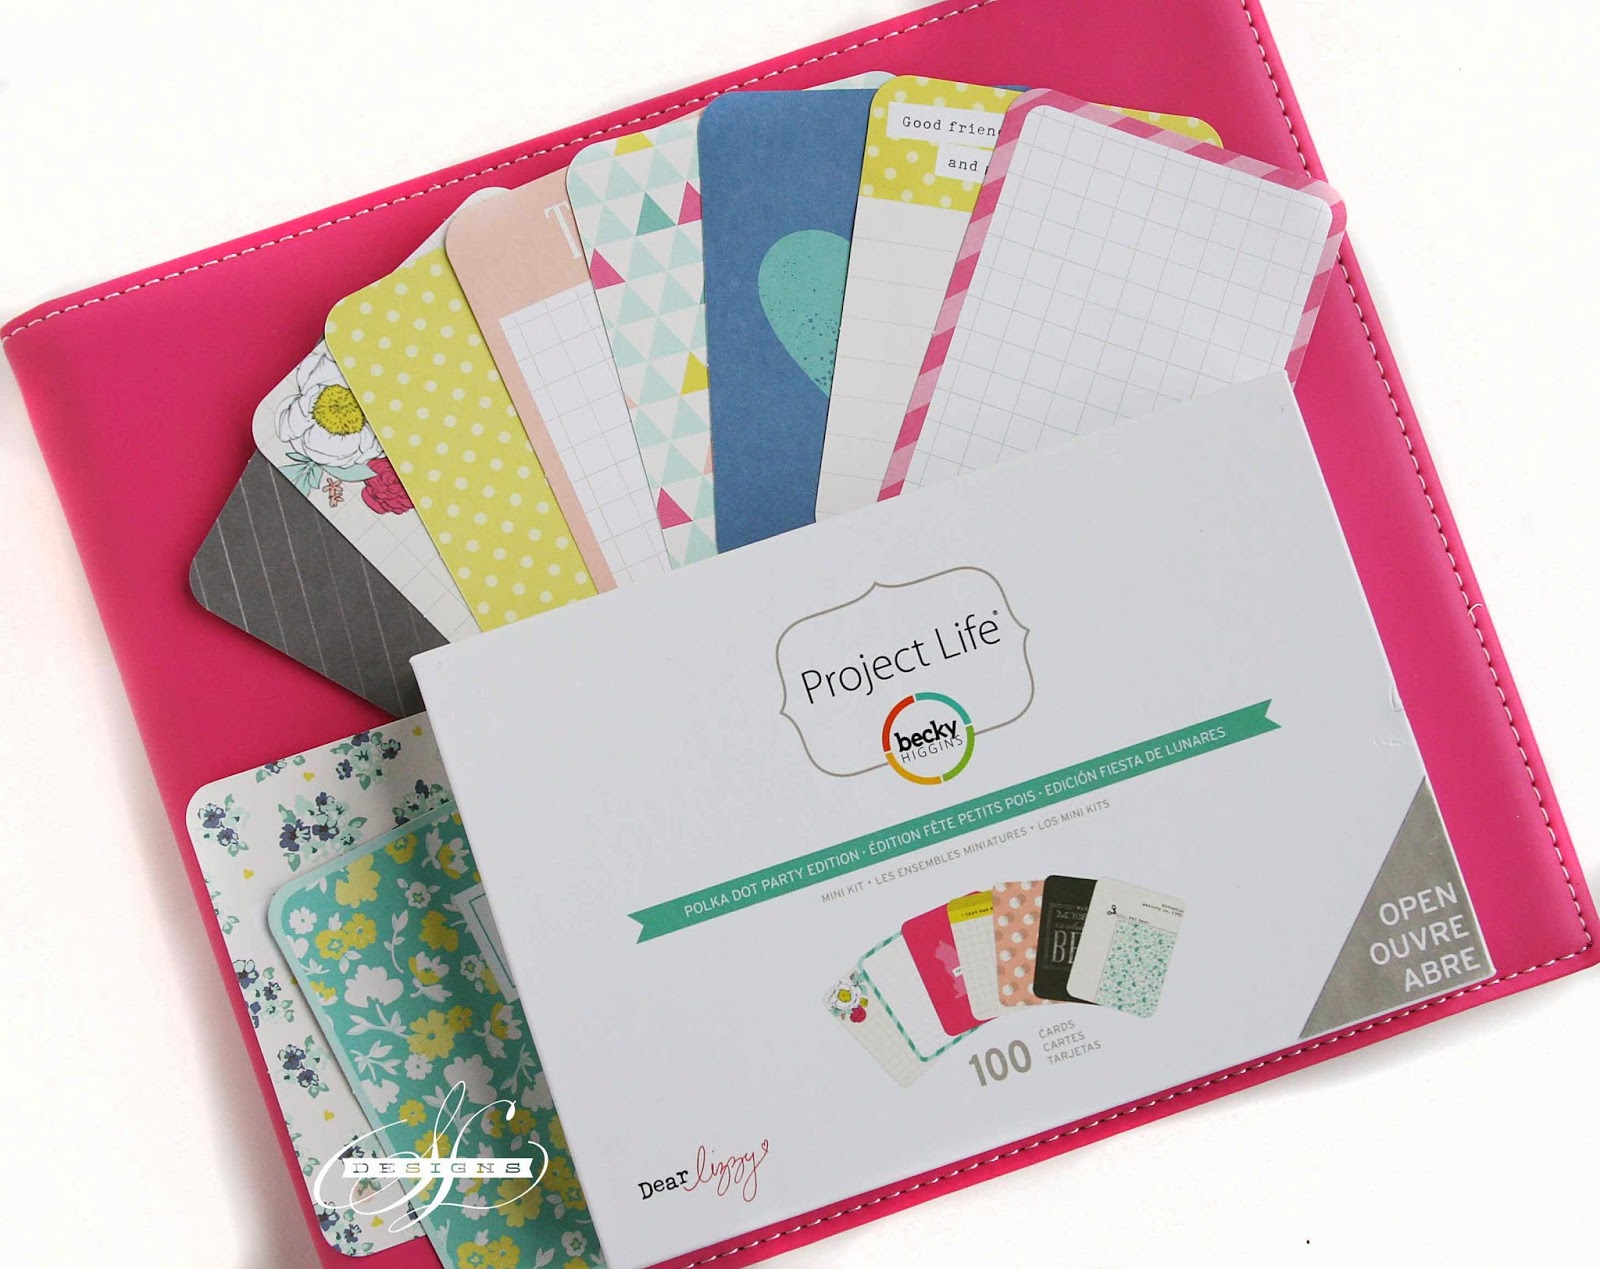
Blush Project Life Album


Supplies to Bring:
Black Pen
Scissors
Paper Trimmer
Adhesive for paper
Photos (not required, but you can bring a variety of 4x6 inch (horizontal) & 3x4 inch (vertical) shots. Each page holds two-three photos. There are 40 pages in this album. We will go through 4-5 spreads.)
Sponsors Include: American Crafts, Becky Higgins, Simon Says Stamp


Friday, March 21, 2014

Look at These Cuties!

I just had to show you the canvases with photos added! I MIGHT be a little bit biased, but these grandbabies sure are cutie-pies!

So just print out a 5x7 photo and add to the canvas with foam tape for a little dimension. (I did de-saturate my photos a tad to match the color scheme better.) Tuck the corners of the photos under a few embellies for a better look. That's it! Easy-peasie and you have custom angelic pieces for your home!

See post below with video link on how to make these yourself!

Tuesday, March 18, 2014

Custom Home Decor


I love making special pieces for the home! See how I used Pinterest as inspiration to create this sweet canvas for little Amariah's bedroom! (Just change the colors to match your decor. It's fast and easy!) I'm teaching LIVE at 11 AM PT/2 PM ET today!
Gilded Angelic Canvas
 Tuesday, March 18th at 11:00am PT/ 2:00pm ET/ 6:00pm GMT


Combine the latest trends and turn them into a beautiful, sparkling canvas for your home! Sharon will share how she incorporates fun trends and color palettes she loves on to her projects using Color Bloom sprays, stencils, sequins, stamps, chalk edgers, wood, lace and cherub resins! Watch for simple and fast techniques for coloring different mediums to fit your tastes. You might even catch a glimpse of Prima's new metal dies in action! It's going to be a full, fun-packed show.


Prima Products:

573911-Color Bloom Spray-Gilded, 573904-Color Bloom Spray-Peony, 573805 Color Bloom Spray-Gold Foil, 572815 Doily Metal Die, 574666 Luna Gold Flowers, 574680 Talia Gold Flowers, 574826 & 574840 Jute Canvas Flowers, 574628 Ivy Bay Gold Leaves, 564506 Cartographer Vine, 573669 Crochet Icons, 573454 Floral Lace, 573478 Angel Resins, 572921 Wood ATCs, 572235 Tulip Stencil, 891954 Metallic Chalk Edgers, 891053-Raspberry Pie Chalk Edger, 891268-Teak Wall Chalk Edger, 891107-Rusty Keys Chalk Edger, 563097, 961015, 563004 Prima Stamps


Extra Materials: 11x14 Canvas, White Paper, Molding Paste, Sequins, Ranger-Liquid Pearls